Self Study 3 - Terrains and Probuilder
This self study DevLog will details to process used to update the Tasmanian tourist attraction scene by using Terrain tools and ProBuilder. The scene will be updated to include a terrain using the many terrain tools both by base unity and the updated terrain tools package and will use ProBuilder to attempt to build a basic house. This is perfect because the lighthouse also has a building next to it so I will attempt to model something resembling that.
Terrain tools:
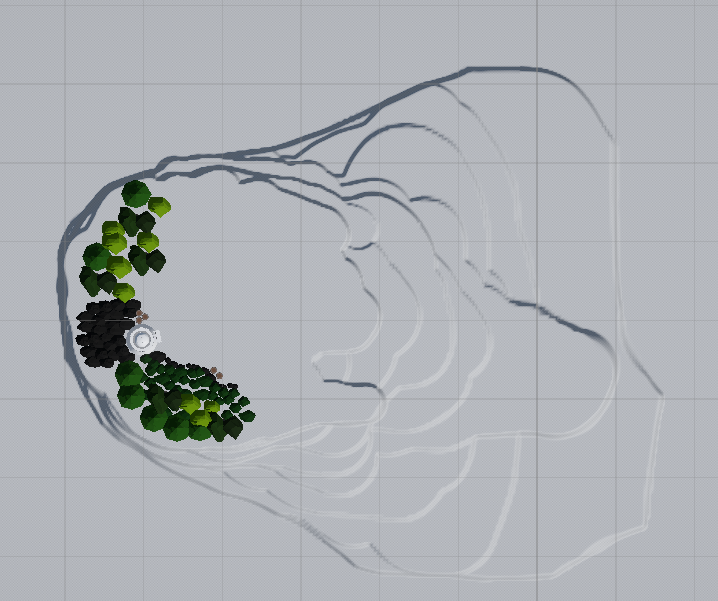
Figure 1: Top view modelling of terrain.
The figure above shows the birds-eye view of the terrain modelling by setting the height and then incrementing up by 10 to effectively build a cliff for the lighthouse to stand on top of. This scene will use a small portion of could be to keep poly count low.
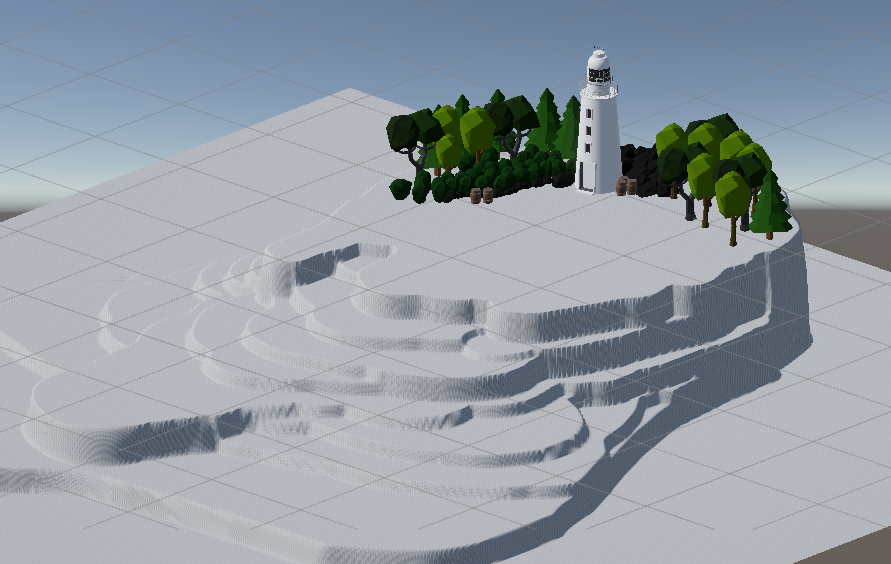
Figure 2: Side view of terrain.
After trying a few more of the terrain tools from the package I have decided to just model a simple path by using the Slope function. Whilst not the best looking "path" after adding some more things in its getting closer to the actual real life scene.
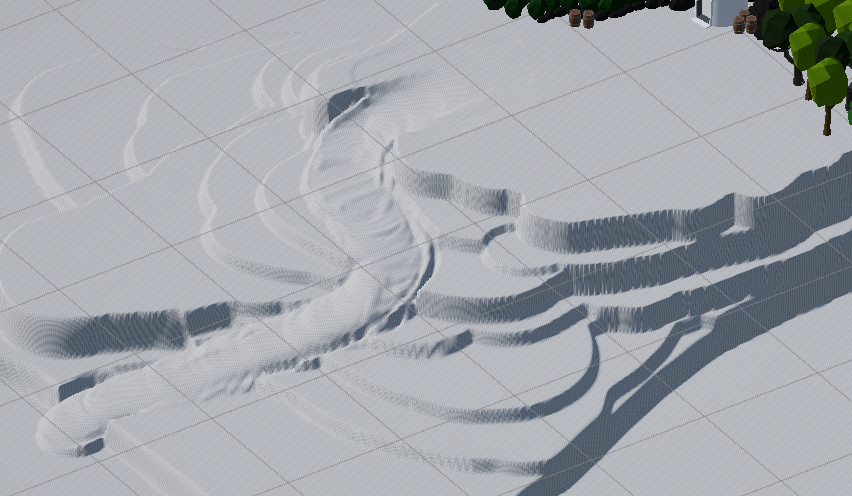
Figure 3: Path modelling
Looked at adding terrain but as it's not what we are aiming for within our gain I decided it's probably best to not bother trying to find good low poly grass and rocks at this point in time.
ProBuilder:
ProBuilder has been used to design the house (shed) at the Cape Bruny Lighthouse. A cube was modified to form the base of the house then extruded the form a roof. Vertices were collapsed together to form the triangular roof which was extruded further. The 'Connect Edges' feature was used to create the doors which were also extruded in to show some depth in the exterior.
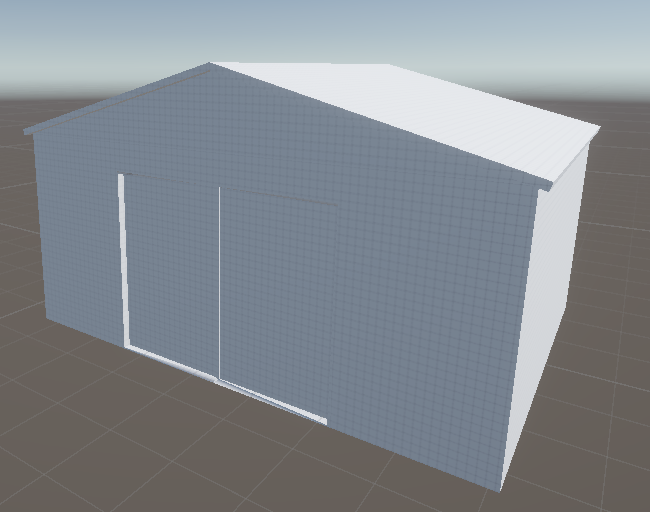
Figure 4: House before materials.
Some materials were added for bricks, doors and the roof from https://freepbr.com/shop/.
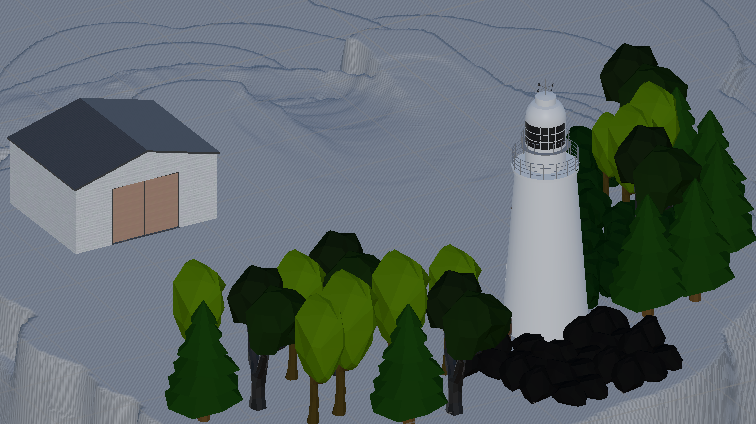
Figure 5: Final house model sitting with lighthouse.
Thank you for reading my Self Study 3 DevLog.
UTAS KIT207 Portfolio
Collection of self study work for KIT207.
| Status | Released |
| Author | Spaghetti_Sauce |
More posts
- Self Study 4 - Game IdeasMar 24, 2025
- Week 2 - Self Study 2/Tutorial 2Mar 10, 2025
- Week 1 - Self Study/Tutorial 1 (Updated)Mar 03, 2025
Leave a comment
Log in with itch.io to leave a comment.