Week 7 - Player Movement
This week we'll be looking at player movement. The DevLog will focus on the changes made to the base script provided in the weekly tutorials for KIT109 that introduces player movement and how collisions will work with the Isometric Z as Y tilemap in unity.
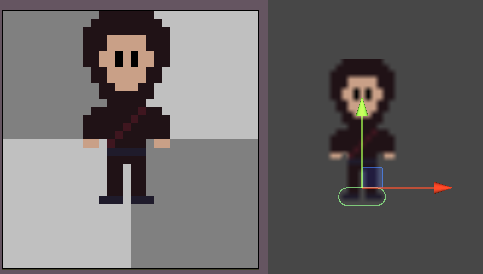
Firstly we'll start with the player sprite. To introduce player movement the basic player model was created in Aseprite. The sprite has an attached capsule collider shown on the right.
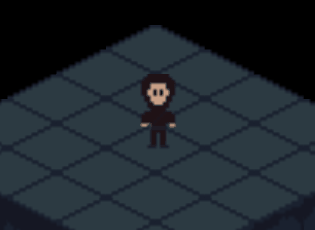
The player moves by using the WASD keys, as the game is isometric the movement needs to be skewed slightly so that it feels like the player is moving naturally within the environment. To achieve the basic movement an 8 way movement script from the KIT109 tutorials has been used and modified to move the player up and down at half the rate when moving diagonally. For example when pressing the W and D keys the player will move twice as fast to the right (east) as they will going up (north), making the player move in the cardinal direction of east-north-east.
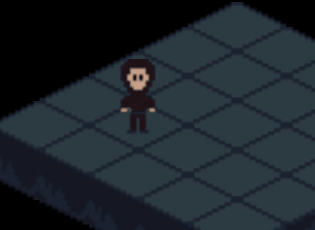
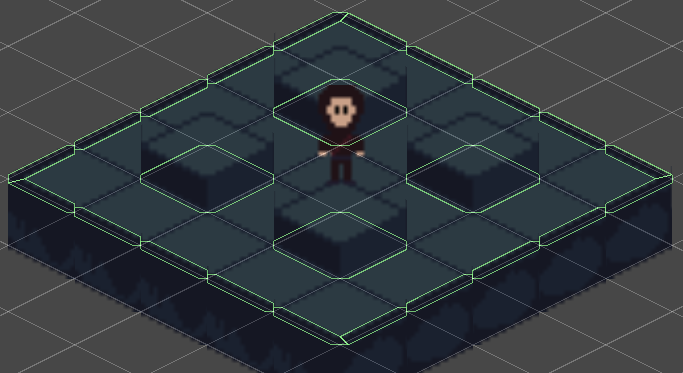
Now that direction player movement is working as intended, we can move on to getting collisions working. With the Isometric Z as Y tilemap we can create the illusion of depth in 2D by creating tiles in the Z plane to appear in front and behind the player. This will be talked about further in the Week 8 DevLog, but for now we can create different collision tiles and place them within the tilemap so that they appear 'under' the walls. Custom physics shapes have been used and extra sprites have been made to use for stairs and boundaries such as bridges.
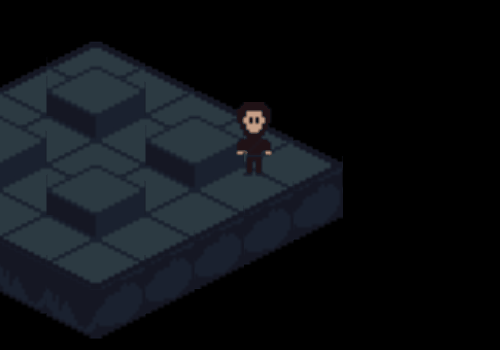
The four blocks in the middle will be used as a base for wall colliders and will be covered up by the wall tiles so they will not be shown.
In the next DevLog we'll talk about level blocking and the process used to create a single level for the game.
Thanks for reading.
Leave a comment
Log in with itch.io to leave a comment.