Week 11 - Part 1: Player and enemy movement (week 9)
This DevLog will focus on creating animation for the players movement and enemy AI pathing for the first enemy, the skeleton.
In the last DevLog I had finished 8-way sprites for both the player and a skeleton along with a small animation for the player being idle with them bobbing up and down. However when changing directions nothing would happen so its time to make the player a bit more interesting!
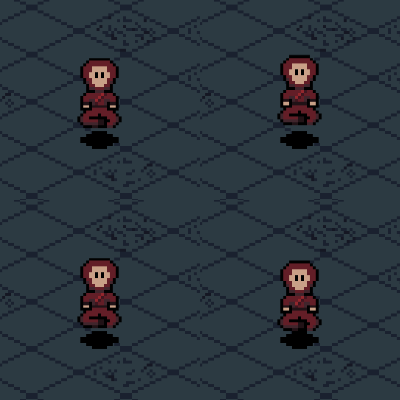
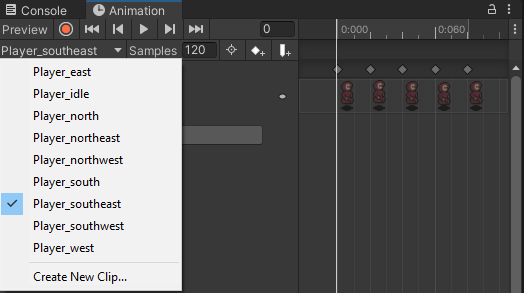
To start an animator component was added to the player game object. Animation clips were made for each of the movement directions. These clips include 3 different positions for each directions, one for central, up and down. The central was used 3 times to create the illusion of moving up and down.
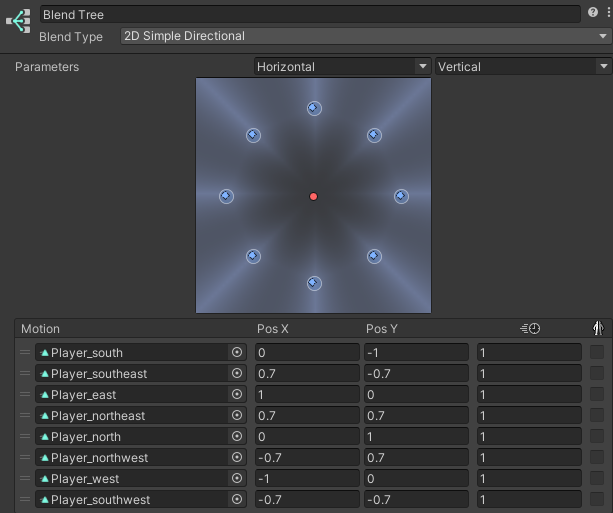
I now needed something to combine all of the branches of the animation clips... that's right, Blend Trees! Using a video tutorial by CouchFerret blend trees weren't so daunting and a position for each of the movements was defined within a new animator state for movement. For example if the player is moving only in the negative-x direction the animation for the player moving west would be played. Vice-versa if the player is moving in the positive-x direction then the animation for moving east would be played.
Once the blend tree was finished a few lines of code were added to the player movement script so that the blend tree animations would play and the movement shown below now worked as intended.
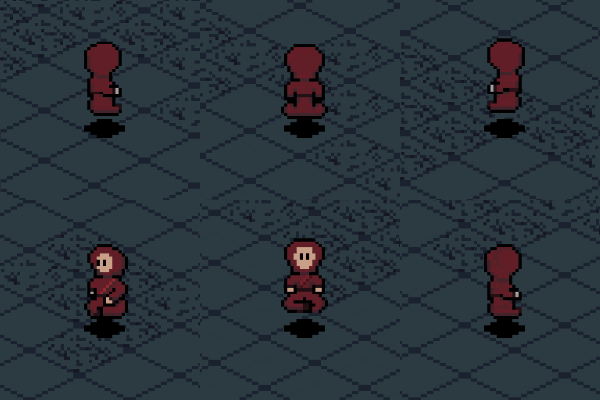
This process for animation was also done for the skeleton. As animation sprites for the skeleton haven't been designed only a single sprite shows in the animation clips. The blend tree has been setup and the skeleton will change sprite based on the direction it is moving in. With time permitting animation for the skeleton will be added.
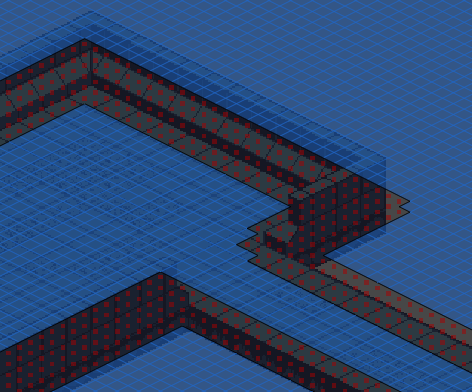
The A* Pathfinding Project is being used for enemy AI movement and will help improve efficiency of the enemy AI. The project comes with many scripts and each script works together to define parameters around the tilemap to find the best path for the enemy to find its target. A grid was first setup to design where the paths could be made and what an obstacle could be. The red dots and the grey area show where the colliders of the tilemap are (out of bounds), where as the blue area is accessible by the AI path. To get an isometric graph the shape of the graph was changed to isometric with a dimetric angle of 60 degrees, the graph was then rotated 45 degrees to line up with the isometric Z as Y tilemap.
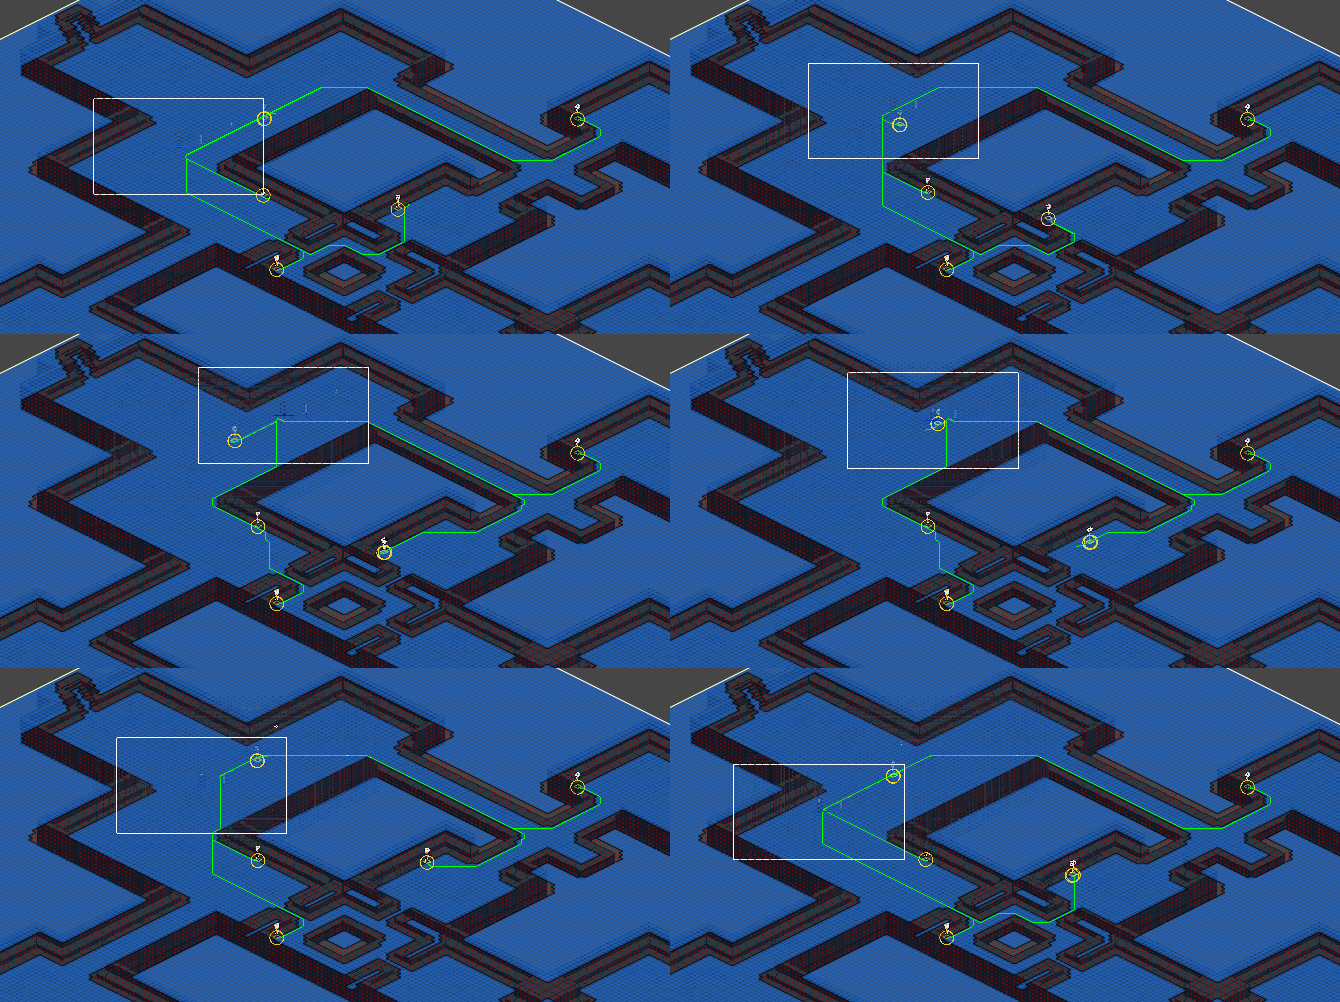
As the player moves around the level the AI path scripts adapt to the movement every update within the game creating new paths. It was expected that the skeletons would follow the path shown in the scene view but sometimes they get stuck behind walls. This will need to be fixed for the game to work as intended but this might also just become a game feature. At the moment the skeletons go for the player when the game start but this will need to be changed so that the player needs to be within a certain radius of the enemy before it starts to seek them.
Thanks for reading this DevLog, in the next one we will discuss the user interface!
Isolated
| Status | Prototype |
| Author | Spaghetti_Sauce |
| Genre | Role Playing, Action |
| Tags | Roguelike |
More posts
- Documentation + User GuideMay 30, 2021
- Week 12 - Game TestingMay 25, 2021
- Week 11 - Part 2: User InterfaceMay 23, 2021
- Week 10 - Presentation / GraphicsMay 09, 2021
- Week 8 - Level BlockingApr 30, 2021
- Week 7 - Player MovementApr 25, 2021
- IsolatedApr 13, 2021
Leave a comment
Log in with itch.io to leave a comment.